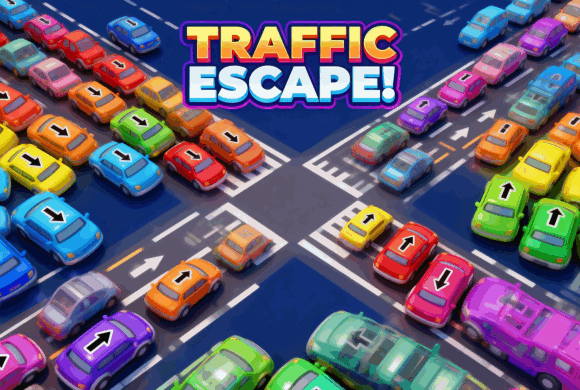
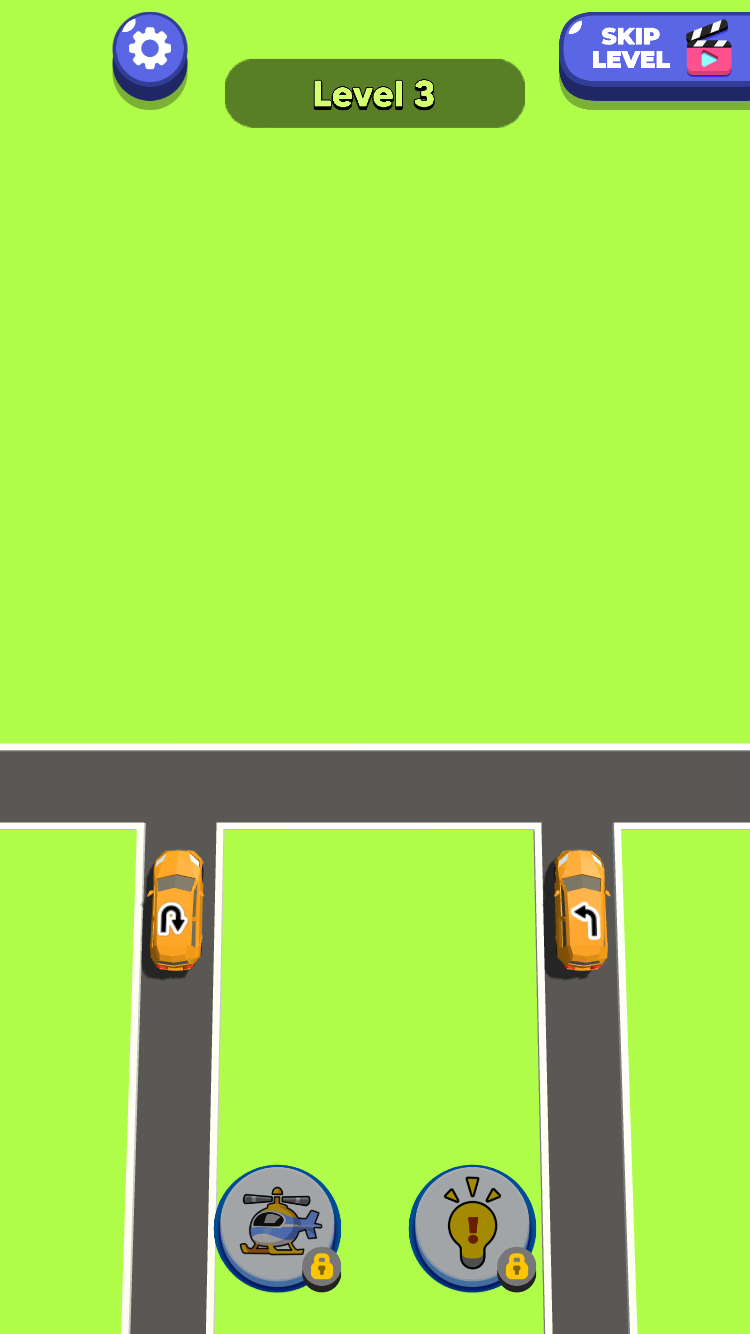
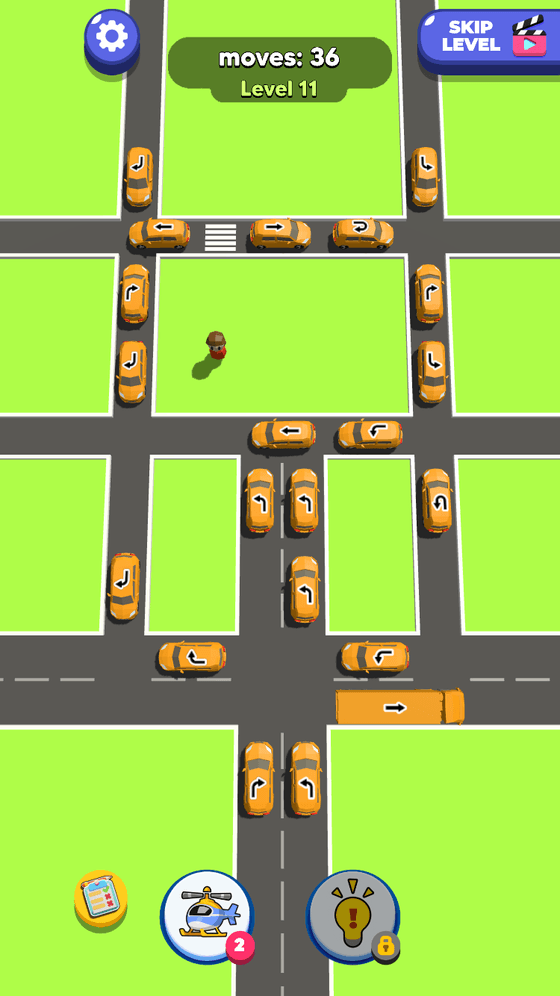
Traffic Escape Tap each car along its arrow and keep the crossing clear.
Tap cars to send them in the direction shown, clear each road in a safe order, earn coins for successful moves, and use hints or the helicopter when a crowded level blocks your route.
Arrow routesEach car shows its intended direction
Collision resetColliding cars return to their positions
Coin rewardsSuccessful moves add to your total
Hints and toolsHighlight or remove a problem vehicle
Traffic Escape is a top-down traffic sequencing puzzle that supports both portrait and landscape play. Every car displays the direction it will follow, and tapping that car sends it along the marked route.
Clear vehicles in an order that prevents collisions and keeps pedestrians safe. A successful move earns coins, colliding cars return to their starting positions, and hitting a pedestrian fails the level.
Cars are not the only hazard
Check crossing routes and pedestrian lanes before tapping. A safe path must stay clear for the vehicle's entire movement.
01Read every roof arrow
02Check cars and pedestrians
03Tap a safe car
Arrow traffic puzzle
Tap cars along their arrow routes
Read every roof arrow. Identify which cars travel straight, turn left or right, or make a U-turn before tapping anything.
Check cars and pedestrians. Trace each route through the road network and make sure it will not cross another moving car or a pedestrian.
Tap a safe car. Release one vehicle whose route is clear. Each successful move awards coins, while a collision sends involved cars back.
Use a tool when blocked. Open the hint to make the recommended car glow, or use the helicopter and select a vehicle to remove it.
Read the road · 01
How to Read a Car Route
A roof arrow is a route, not just a direction cue. Before you tap, follow that route from the car to the point where it leaves the road network.
Name the turn before you tap
A car can go straight, turn left, turn right, or make a U-turn. The car's nose is not enough information: the printed arrow tells you the path that must remain clear.
Trace the full route
Do not stop at the patch of road directly in front of a car. Follow the arrow through every turn, crossing, and exit lane. A route is safe only when its whole trip is clear.
Read one car at a time
Choose a visible car, trace its complete line, then classify it as SAFE TO MOVE or WAIT. This makes a crowded intersection easier to scan than trying to solve every arrow at once.
READ ARROW
TRACE FULL ROUTE
FIND EXIT
Read the road · 02
How to Spot a Route Conflict
Cars can start far apart yet still meet at the same piece of road. The key question is not whether their parking spots touch, but whether their routes share a conflict point.
Look for the crossing point
Trace each route into the intersection. If two cars need the same lane or crossing at the same time, mark that place as a CONFLICT POINT and leave one car waiting.
A clear start can hide an unsafe finish
The space around a car may look open when it begins moving. Keep following the route until the exit: a vehicle farther down the road can still block the final turn.
Use the reset as feedback
When cars collide, the game returns them to their starting positions. Treat that reset as a route-reading clue: revisit the shared lane and choose a different release order.
ROUTE A
ROUTE B
CONFLICT POINT
WAIT
Read the road · 03
Cars Are Not the Only Hazard
A crossing can make an otherwise empty-looking route unsafe. Read the pedestrian lane as part of the car's full route, not as background decoration.
Locate the crosswalk
Find the striped crossing before you release a car. Then check whether the arrow's route passes through or beside that crossing.
Check whether a pedestrian is present
If a pedestrian occupies the crossing a car needs, that car is WAIT. The route becomes safe only after the crossing is clear; a pedestrian hit fails the level.
Check again after the board changes
Pedestrians and cars make the safe answer state-dependent. A route that was unsafe a moment ago deserves a fresh scan after a vehicle leaves or the crossing clears.
TRACE ROUTE
CROSSWALK
PEDESTRIAN PRESENT?
WAIT
Read the road · 04
Which Car Should Move First?
Start with a car whose complete route is clear right now. The best first move is not necessarily the closest car or the largest gap; it is the one that can leave without taking a shared lane or occupied crossing.
Compare routes, not car positions
Mark one candidate at a time. A car can be far from every other car but still turn into a conflict point. Another car can look boxed in yet have a clean route to the nearest exit.
Prefer a proven safe route
Once you can trace one route from car to exit without another car or pedestrian on it, release that car. Do not spend a move testing a route you have not finished reading.
SCAN CARS
FIND SAFE ROUTE
FIRST MOVE
Read the road · 05
How One Move Changes the Intersection
A cleared car changes the puzzle. Instead of memorising an entire release order at the start, make one confirmed move and then read the remaining intersection again.
One departure can open a lane
A car leaving removes its body and route from the board. That can expose a new exit or make a previously blocked turn safe for the next vehicle.
The move count records the changing state
On a crowded board, every cleared vehicle changes the move you should consider next. The right answer depends on the cars still present, so reassess the intersection after every successful release.
RELEASE
CAR LEAVES
INTERSECTION CHANGES
RESCAN
Read the road · 06
A Simple 5-Step Method for Traffic Escape
Use this short loop whenever the board feels busy. It turns every move into the same route-reading decision.
1. READ and 2. TRACE
Read one roof arrow, identify its straight, turning, or U-turn route, then trace that full line to the exit.
3. CHECK
Check every shared lane, intersection, and crosswalk on that route. Another car or a pedestrian means WAIT.
4. RELEASE and 5. RESCAN
Tap only a confirmed safe car. When it leaves, restart the scan on the new board state rather than assuming the previous answer is still right.
READ
TRACE
CHECK
RELEASE
RESCAN
Look closer · 07
Traffic Escape Route Examples
A shared lane creates a route conflict
Two cars can look safely separated and still need the same lane. When one route reaches a car that has not cleared that lane, the move fails and both cars return.
Separate lanesSeparate starting positions do not guarantee separate routes.
Try it: Which shared lane makes this route unsafe, even though the cars begin apart?
A and B do not touch, but their positions do not tell you which road their arrows will use.
A reaches the lane still occupied by B. X marks the conflict point where their routes cannot coexist.
Clear that shared lane first, then rescan before trying the other car.
Route conflict · one unsafe release
SEPARATE STARTS
SHARED LANE
CONFLICT
RESET
ROUTE CONFLICT Cars can be distant at the start and still collide later. Follow both routes to the point where they share a lane.
A clear-looking car can still be unsafe
C has room in its starting lane, but the road ahead still includes a crosswalk. An open gap beside the car is not the same as a safe trip.
Crowded roadBefore moving anything, notice that a crossing can be a route hazard as well as the cars around it.
Try it: C looks free on the left. What on its route means it still has to wait?
When other cars leave, return to C and trace its arrow again. The board has changed, so the next decision must use the new state.
C has a clear-looking starting lane, but P is on the striped crossing C must cross to complete its turn. C is WAIT while P occupies that space.
The failed move shows why an empty start is not enough: the whole route, including the crossing, must be clear before you release C.
Crosswalk check · C's route
READ C
TRACE CROSSING
PEDESTRIAN IN PATH
WAIT
PEDESTRIAN RISK A clear-looking car is not automatically safe. A pedestrian anywhere on its full route keeps that move blocked.
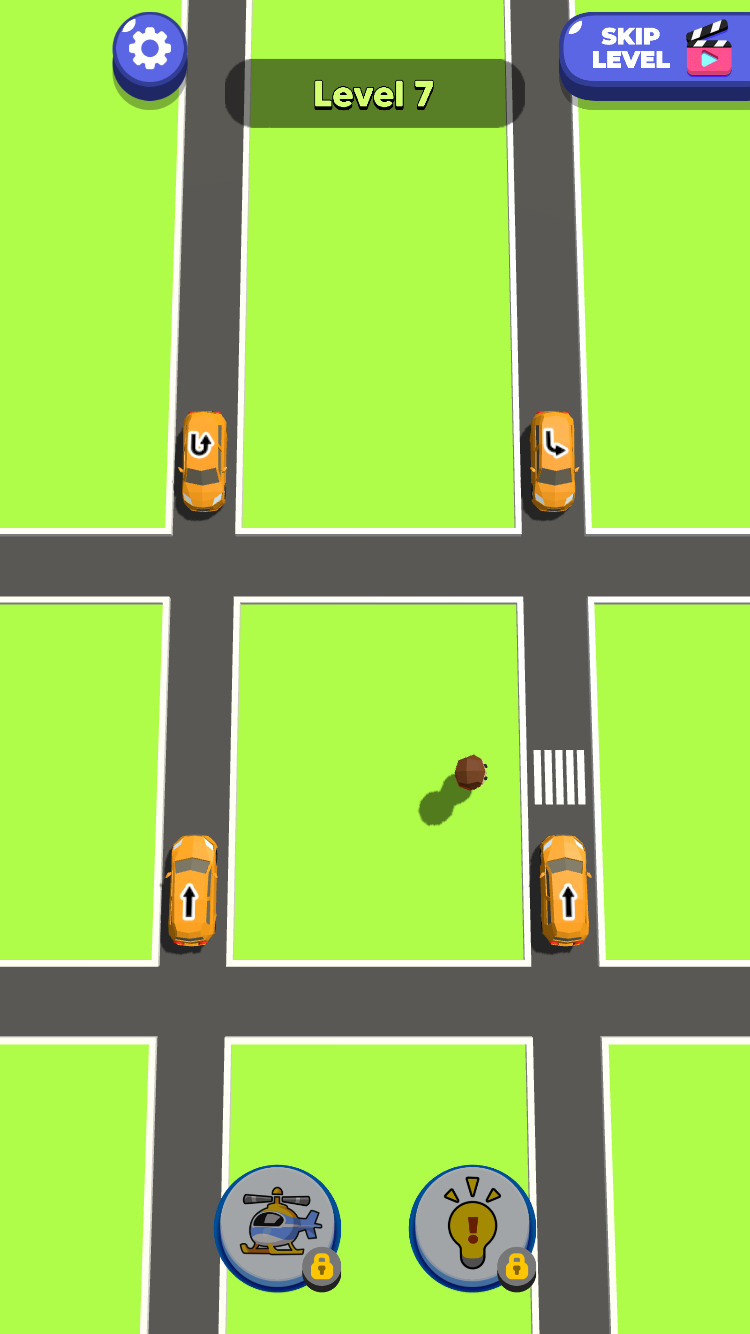
Which car is safe to move first?
Four cars surround a pedestrian crossing. A is a strong first choice because its route reaches an exit without using the occupied central crossing.
Find a safe routeA is the upper-right candidate. Follow its arrow all the way to the exit.
Try it: Why can A leave now while a route through the occupied crossing must wait?
A sits in the upper-right lane. Its route can leave without using the pedestrian's central crossing.
Clearing A removes one route from the board without creating a collision or pedestrian risk.
Do not assume every remaining car is now safe. Repeat the same route check on the changed board.
Safe first move · Level 7
FIND A
SAFE ROUTE
A LEAVES
RESCAN
FIRST MOVE Choose the car whose complete path is clear now. A safe first release is valuable because it simplifies the next scan.
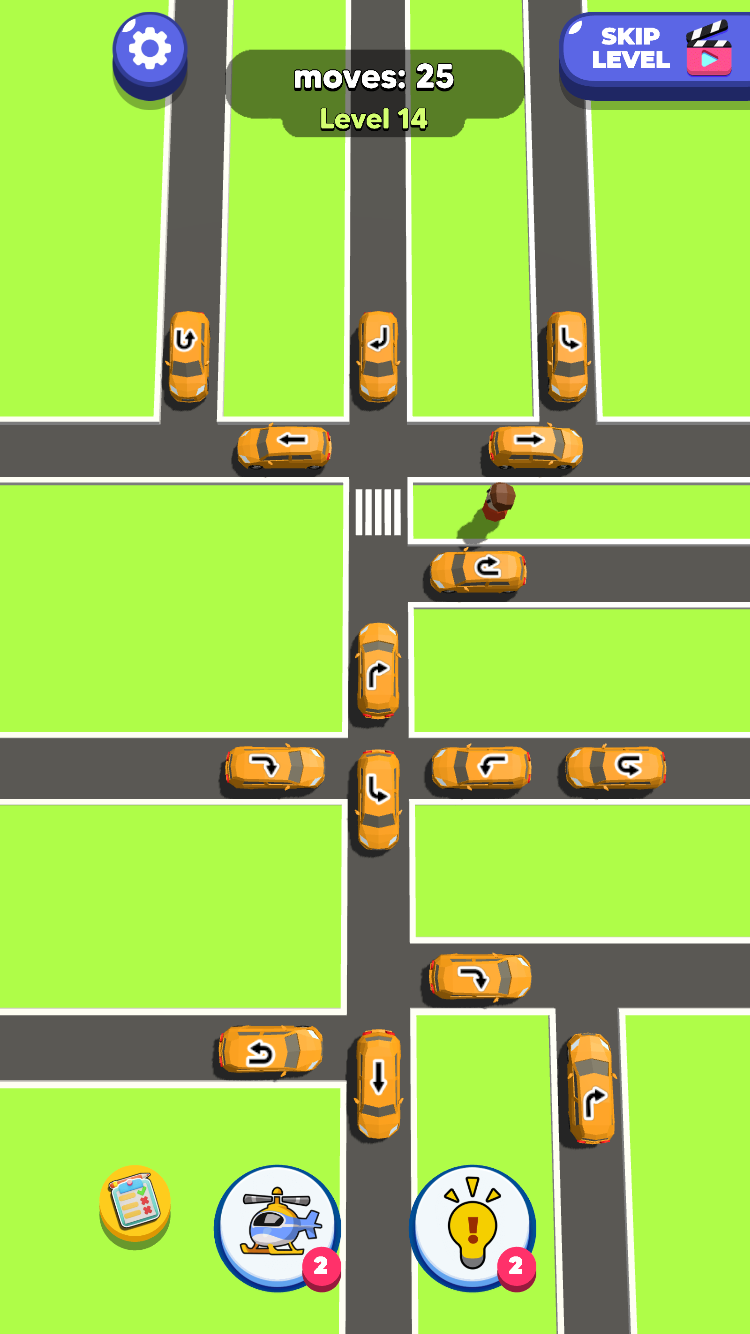
A successful move changes what is safe next
A dense intersection does not have one permanent answer. A failed route costs a move without clearing space; each successful release removes one obstruction and changes what can leave next.
Crowded roadThe whole intersection is occupied, so no route should be judged by the first gap you see.
Try it: After one vehicle leaves, why should you check every remaining route again?
On a crowded road, an unverified route can cost a move without clearing any space.
Each successful release removes one vehicle and changes the remaining intersections and exit lanes.
The road becomes simpler because every successful release is followed by another scan. Use that loop instead of trying to memorise the opening layout.
Board state · Level 14
READ
RELEASE ONE
INTERSECTION CHANGES
RESCAN
RESCAN The right move is a property of the current board, not a permanent answer. Every cleared car is a reason to trace the remaining routes again.
Good to know
Follow the arrows, protect the crossing
Car arrows include straight, left, right, and U-turn routes.
Traffic Escape supports both portrait and landscape layouts.
Colliding cars return to their original positions.
Every successfully moved car awards coins.
Hitting a pedestrian fails the level.
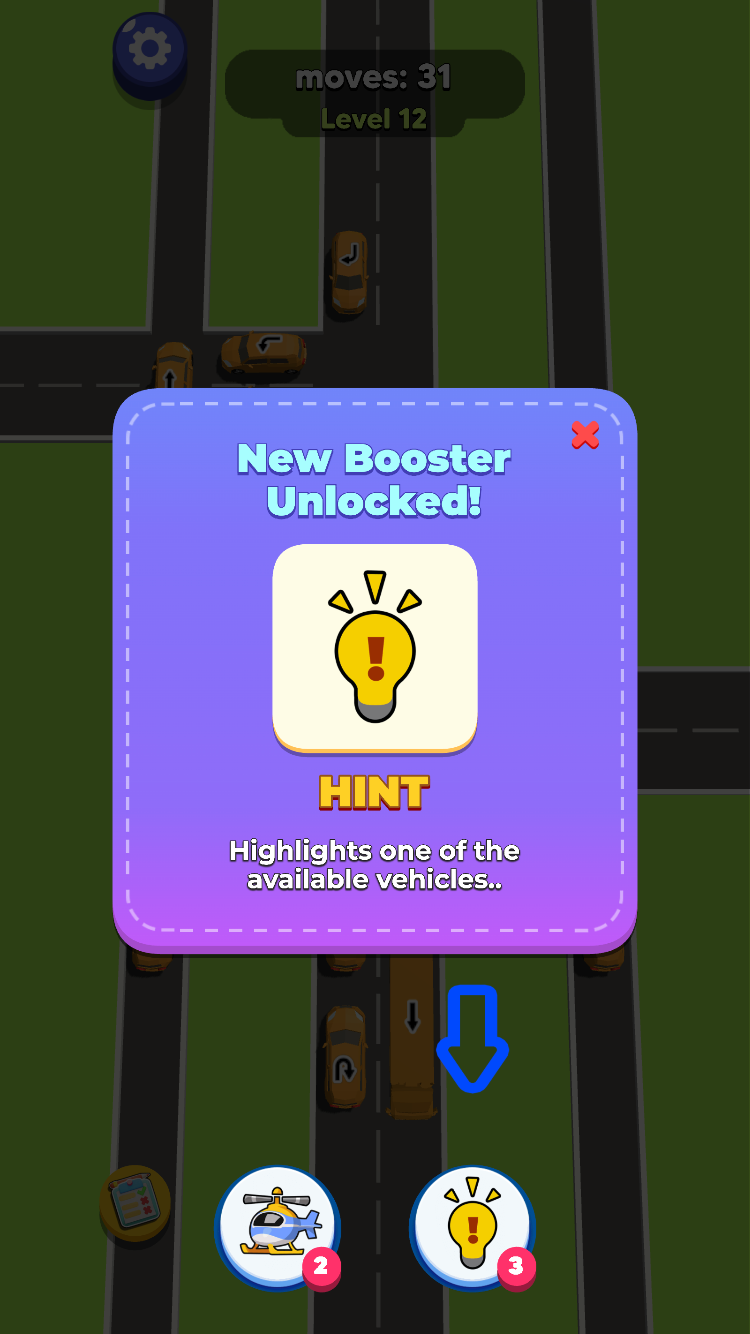
A hint highlights the recommended car, while the helicopter removes a selected vehicle.
Hint: highlight one available vehicle
Hint points to one car that can currently move. It does not send the car away for you, so use the highlighted route to understand why that move is available.
Hint availableHint becomes available at the bottom of the board.
Try it: After opening Hint, what should you read on the highlighted car before you tap it?
Hint does not clear a car by itself.
Use Hint when you need one available route to study.
A has a yellow ring. Trace A's arrow and crossing route before releasing it, then rescan after it leaves.
Hint · recommendation, not an automatic move
OPEN HINT
FIND HIGHLIGHT
TRACE ROUTE
RELEASE OR WAIT
HINT Hint narrows the next decision to an available vehicle. It is most useful when you still verify the highlighted route yourself.
Helicopter: remove one chosen vehicle
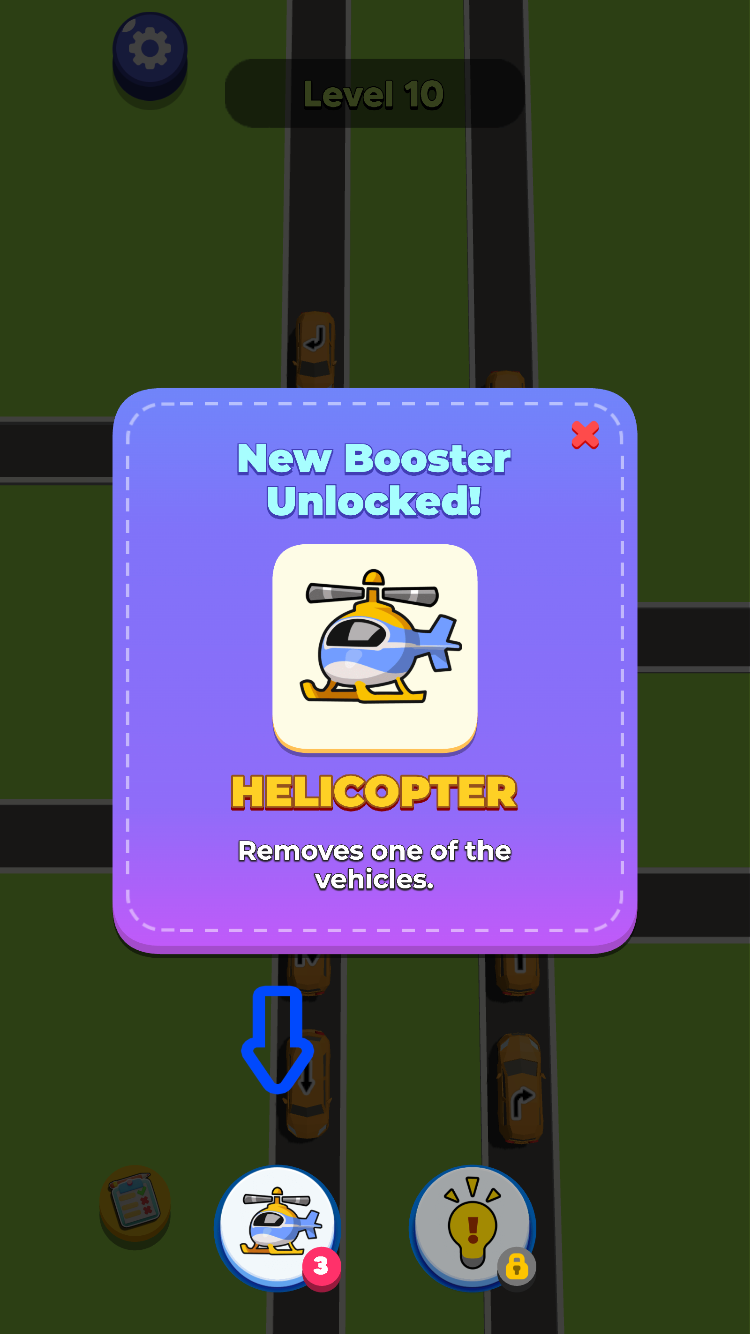
The helicopter removes one vehicle you choose. It is most useful when a single car blocks several otherwise safe routes and clearing it opens a meaningful choice.
Helicopter availableThe helicopter button is available below the board.
Try it: Which vehicle should you remove with the helicopter: the first car you see, or the one that genuinely blocks the routes you need?
The helicopter removes one chosen vehicle.
Pick a vehicle only after identifying the route it blocks.
The selected car is removed from the road. Do not treat that as the final answer: trace the newly exposed routes before the next release.
Helicopter · deliberate removal
SELECT HELICOPTER
CHOOSE BLOCKER
REMOVE CAR
RESCAN
HELICOPTER Use the helicopter to remove the vehicle that genuinely prevents a safe route, then read the changed intersection from the beginning.
See the traffic
Inside Traffic Escape
Tap a car to follow its arrowRead the whole intersectionColliding cars return to positionEarn coins for successful movesWatch for pedestriansA pedestrian hit fails the levelHints make the next car glowSelect the helicopter toolRemove one blocking vehicle
Traffic Escape guide
Release only a completely safe path
Treat the board as a set of crossing routes. Check every car and pedestrian first, release only a completely safe path, and save the hint or helicopter for a genuinely blocked layout.
Start with safe right turns
A right-turning car often leaves through its nearest corner and can reduce the board without crossing the central lanes.
Protect every crossing
Give one car enough time to clear its route before releasing another vehicle, and never send a car through an occupied pedestrian lane.
Use tools deliberately
Let the hint identify a safe next move when the order is unclear. Use the helicopter to remove a vehicle only when that direct intervention is worth spending.
Questions
Traffic Escape FAQ
What do the arrows mean in Traffic Escape?
Each roof arrow shows the route that car will follow when tapped, including straight, left, right, and U-turn paths.
What happens when cars collide?
When two cars collide, they return to their original positions so you can try a different release order.
What happens if a car hits a pedestrian?
Hitting a pedestrian fails the level and opens the revive or exit choices shown by the game.
How do the hint and helicopter work?
The hint makes a recommended car glow. The helicopter lets you select and remove one vehicle from the board.
Does Traffic Escape run in a web browser?
Yes. Traffic Escape opens in the embedded browser player on this page and supports both portrait and landscape layouts.
Ready to clear another intersection?
Return to the road, read the next set of arrows, and release only a completely safe path.